
Welcome to the world of photography! Whether you just picked up your first camera or you’re finally getting serious about using the one on your phone, you’re in the right place. At Places4Photos, we’re all about helping photographers find inspiring places, improve their skills, and share their images with a supportive community.
This isn’t just another list of generic tips — this is your real-world starter guide to taking better photos, fast. Packed with detailed guidance, common pitfalls, and a free downloadable challenge sheet to get you practicing right away, this article is built for beginners who are ready to level up.
Why Photography Feels Hard at First (And How to Beat That)
Let’s be honest — photography can feel overwhelming. Shutter speed, ISO, aperture, composition… there’s a lot to learn. But here’s the good news: you don’t need to know everything right now. You just need to know what makes the biggest difference first.
Photography is about seeing. Once you begin to understand how to see light, balance your frame, and avoid a few rookie errors — you’ll be miles ahead of where you started.
As beginners improve their skills, one of the biggest breakthroughs comes from choosing better locations and preparing for shoots in advance. Learning how photographers approach photo planning can make a huge difference once the basics start to click.
The 5 Fastest Ways to Improve Your Photography
1. Master the Rule of Thirds

The Rule of Thirds is one of the most fundamental principles in photography composition. Imagine your image is divided by two equally spaced horizontal lines and two equally spaced vertical lines, creating nine sections. Placing key elements (like a subject’s eye, a mountain peak, or a person standing) at the intersections of these lines makes your photo more balanced and visually appealing.
Why use it? Our eyes naturally follow these intersecting points more comfortably than centered subjects. It creates a sense of dynamism and leads the viewer’s gaze around the photo.
When should you use it? Most of the time — especially for landscapes, portraits, and street scenes. Once you’ve mastered it, you can break it creatively.
How to use it: Turn on the grid on your camera or phone. Then, instead of centering your subject, position it where the lines meet or run along one of the horizontal/vertical thirds.
2. Use Natural Light

Lighting can make or break a photo. Golden hour — the hour after sunrise or before sunset — provides soft, warm light that adds depth and warmth. In contrast, shooting at midday can create harsh shadows and overexposed highlights.
Why use natural light? It’s free, easy to access, and gives you the most natural-looking results. Beginners don’t need fancy flash setups; learning to work with the sun teaches you how to shape and predict light.
When is the best light?
- Golden hour: soft and flattering (portraits, landscapes)
- Blue hour: moody and atmospheric (night scenes)
- Overcast: great for portraits (soft shadows)
Tip: Always observe how light falls on your subject — side lighting reveals texture, while backlighting creates silhouettes and glow.
3. Keep Your Camera Steady

Blurry photos are one of the biggest frustrations for new photographers. The culprit? Camera shake.
Why does it happen? At slower shutter speeds or with handheld shots, even the slightest hand movement causes blur.
Fixes:
- Use a tripod or steady surface
- Tuck your elbows close to your body
- Use a fast shutter speed (1/125s or faster)
Pro tip: Use your camera’s 2-second timer or remote shutter to avoid shaking when you press the button.
4. Move, Don’t Zoom
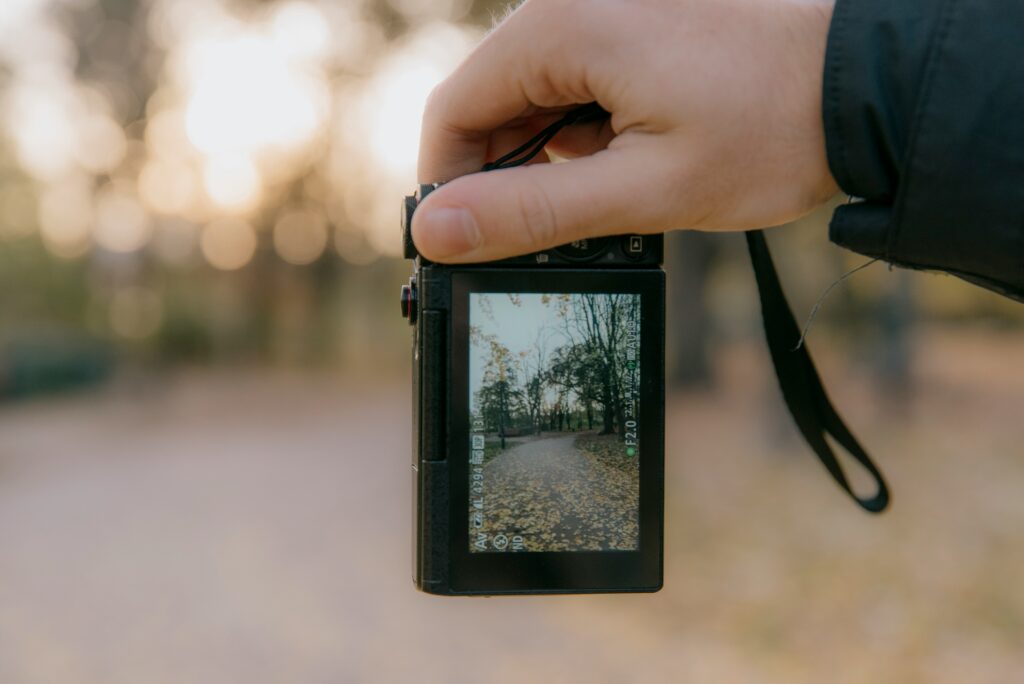
Digital zoom degrades image quality. Optical zoom is better, but nothing beats physically moving closer to your subject.
Why move? You get better perspective, depth, and framing. Being closer also reduces distractions in the background.
When to zoom: Only when you can’t move — like wildlife photography or safety-restricted areas.
Exercise: Pick a subject and shoot it from 3 distances. Compare how the background, compression, and detail change.
5. Clean Your Lens
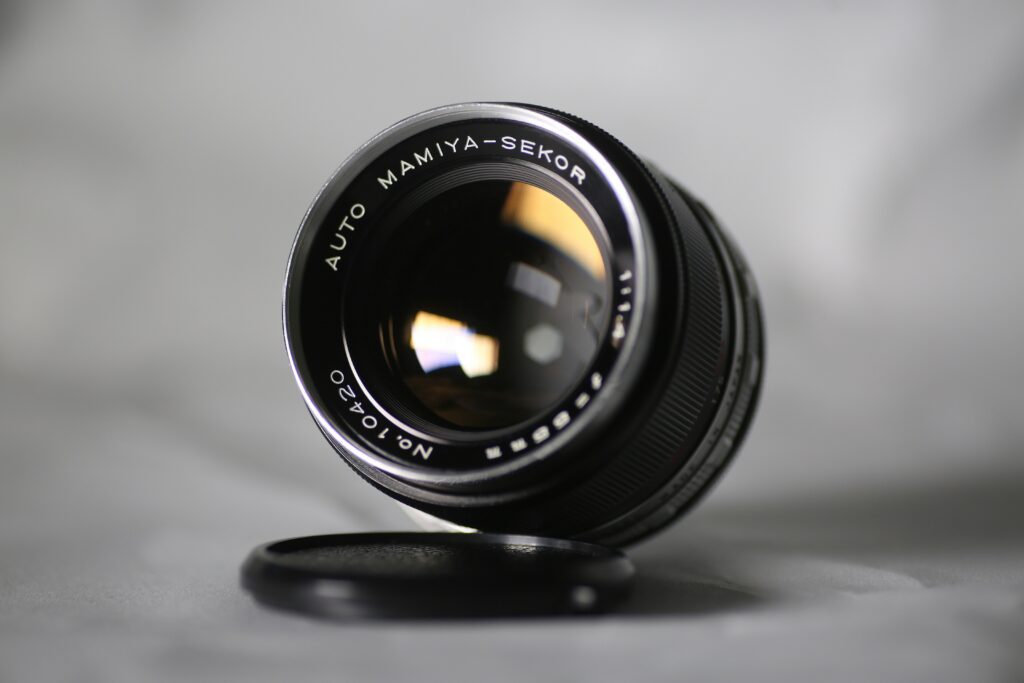
Sounds obvious, but you’d be surprised how many beginners shoot through a dirty lens.
Why it matters: Fingerprints, dust, or water smudges create hazy, low-contrast images — especially on phones.
How to clean it: Use a microfiber cloth and air blower. Avoid wiping with clothes or tissues (they scratch).
3 Common Beginner Mistakes (and Easy Fixes)
Mistake #1: Shooting Everything from Eye Level

What’s wrong? Eye-level shots often feel flat and ordinary.
Fix it: Get low to the ground, or shoot from above. Changing angles adds drama and visual interest. Try placing the camera at waist-height, or lying down to capture kids or pets.
Mistake #2: Ignoring the Background
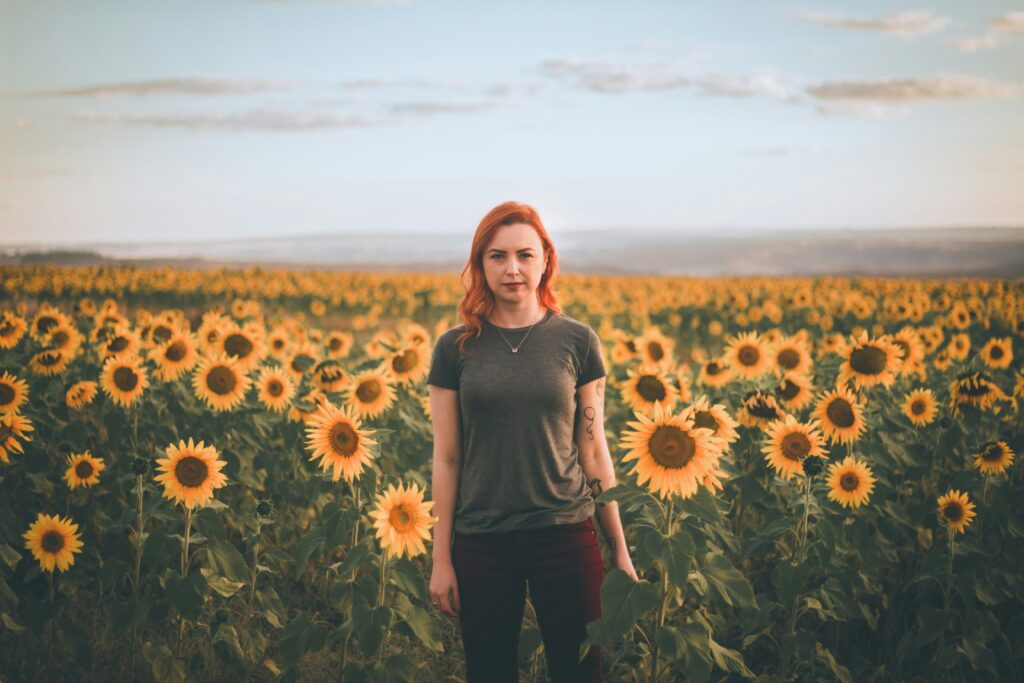
What happens? A great subject can be ruined by a messy or distracting background — think lamp posts “growing” from heads or passersby walking into frame.
How to fix it: Always scan the background before shooting. Take a step to the side or change your angle to simplify.
Mistake #3: Overediting

The issue: Beginners often crank up saturation, contrast, or use heavy filters.
Fix it: Less is more. Aim to enhance the natural look. Use editing to correct exposure and balance — not to create unrealistic colors.
Beginner Photography Gear That Makes a Difference
You don’t need pro gear to take amazing photos. Here’s what helps:
- Entry-level DSLR or mirrorless: Affordable models like the Canon EOS Rebel, Nikon D3500, or Sony ZV-E10 deliver great results.
- Smartphones: Modern phones like iPhones or Samsung Galaxy models have excellent cameras — use manual mode apps to control settings.
- Tripod: Even a mini tripod for your phone adds stability.
- Reflector: Useful for bouncing light back onto a subject’s face in harsh sun or shade.
- Cleaning kit: Microfiber cloth, air blower, sensor-safe brushes.
- Extra memory & batteries: Always carry spares — trust us.
Try These 3 Beginner Photo Challenges
Get inspired and start learning by doing:
- Light & Shadow Challenge: Find a subject with contrasting light and shadow. Observe how shadows define shape.
- Reflection Hunt: Look for reflections in water, windows, or polished surfaces. Compose so the reflection becomes part of the subject.
- Time-of-Day Comparison: Photograph the same scene in morning light, at noon, and at golden hour. See how color and mood shift.
Track your progress using our downloadable practice sheet.
📥 Free Download: Photography Starter Challenge & Tip Sheet
All of these tips, gear recs, and challenge prompts are available in one clean PDF sheet.
Use it as a quick reference while you’re out shooting, or print it to keep in your camera bag.
Final Tip: Share Your Progress!
Once you’ve taken a shot you’re proud of — upload it to Places4Photos.com and tag it “Beginner Challenge.” You might inspire someone else just starting out.
Remember, every pro was once a beginner. It’s not about having perfect gear — it’s about showing up, clicking the shutter, and learning with every shot.
As you grow more confident, planning locations and shoots in advance will help you take your photography even further.